Have you ever inhaled the warm, spicy aroma of cloves and wondered what it would be like to grow this exotic treasure in your own home? Imagine nurturing a tiny seed into a thriving clove plant, its glossy leaves whispering promises of future harvests. Growing cloves from seed is a journey of patience, care, and wonder—a rewarding adventure that transforms a humble spice into a living masterpiece. Whether you’re a seasoned gardener or a curious beginner, this guide will walk you through every step to cultivate cloves with confidence, turning your backyard or indoor space into a fragrant haven. Ready to dive into the captivating world of clove growing? Let’s unlock the secrets together.
🌱 Why Grow Cloves? A Spice Worth the Effort
Cloves aren’t just a kitchen staple; they’re a gateway to connecting with nature’s rhythms. These tiny buds, packed with bold flavor and medicinal properties, have been cherished for centuries. Growing your own cloves means more than just harvesting a spice—it’s about cultivating a piece of history, a plant that thrives in tropical allure. Picture the satisfaction of plucking your own homegrown cloves, their rich scent filling the air as you dry them for culinary or therapeutic use. Plus, clove plants are stunning, with lush, evergreen foliage that adds a touch of the tropics to any space. The best part? You don’t need a sprawling garden—just a pot, some patience, and a sprinkle of passion.
This guide is your roadmap to success, designed to keep you engaged and inspired as you nurture cloves from seed to spice. Let’s start with the first magical step: germinating those precious seeds.
🌼 Germinating Clove Seeds: The Spark of Life
The journey to a thriving clove plant begins with a single seed—or, more accurately, a fresh clove. The process of germination is like coaxing a sleeping giant to awaken, and with the right steps, you’ll set the stage for a healthy plant.
Selecting the Perfect Seeds
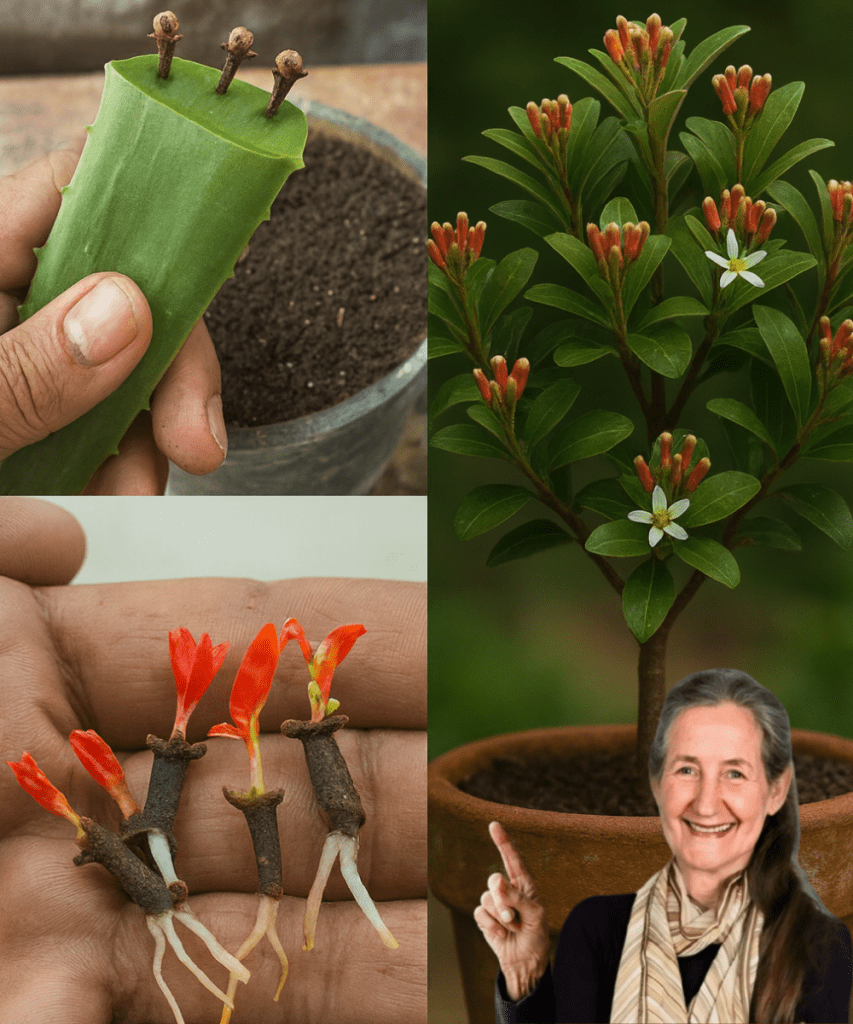
Choose fresh, plump cloves that look vibrant and unbroken. The fresher the clove, the higher your chances of success. Avoid dried or processed cloves from the spice aisle—these are culinary treasures, not planting ones. Seek out seeds from a trusted nursery or supplier, ensuring they’re ready to sprout.
Soaking for Success
To soften the clove’s hard outer shell, soak the seeds in warm water for 24 hours. This simple step mimics the natural conditions of a tropical rainforest, where warmth and moisture coax life from the seed. Use a small bowl, keep the water at room temperature, and let the cloves soak undisturbed. This is where the magic begins—think of it as waking the seed from its slumber.
Preparing the Perfect Home
Fill small pots or seed trays with well-draining potting soil. A mix of peat, perlite, and compost works wonders, providing the airy, nutrient-rich environment cloves crave. Leave about half an inch of space at the top of each pot to give your seeds room to settle.
Planting with Care
Gently press each soaked clove about one inch deep into the soil. If you’re using a tray, space the seeds evenly to avoid crowding. One seed per pot is ideal, giving each seedling the space to stretch its roots.
Creating a Mini Greenhouse
Cover your pots or trays with plastic wrap or a transparent lid to trap warmth and moisture, mimicking the humid tropics where cloves thrive. This greenhouse effect is key to encouraging germination, keeping the soil cozy and inviting for those tiny sprouts.
Nurturing Warmth and Moisture
Place your pots in a warm spot with indirect sunlight—think a windowsill that gets soft, filtered light. Keep the soil consistently moist but never soggy. A spray bottle is your best friend here, allowing you to mist the soil gently without overwatering. Aim for a temperature between 70°F and 85°F (21°C to 29°C) to keep your seeds happy.
Patience Pays Off
Clove seeds are not in a hurry. Germination can take anywhere from three to eight weeks, so settle in for the wait. Check the soil daily, misting as needed, and resist the urge to poke at the seeds. When those first green sprouts peek through the soil, it’s a moment of triumph. Remove the plastic cover and let your seedlings bask in gentle, filtered sunlight.
🌳 Transplanting Clove Seedlings: A New Chapter
Once your seedlings have sprouted and developed a few sets of true leaves—typically after a couple of months—they’re ready for their next adventure: a bigger home. Transplanting is a delicate process, but with care, your clove plants will thrive.
Choosing the Right Pot
Select larger pots with excellent drainage holes to prevent water from pooling. A pot that’s 10 to 12 inches in diameter gives your clove plant room to grow. Fill it with a rich, well-draining potting mix—think equal parts compost, sand, and loamy soil for the perfect balance.
Transplanting with Precision
Gently remove each seedling from its original pot, taking care not to disturb the delicate roots. Dig a small hole in the new pot’s soil, just deep enough to accommodate the root ball. Place the seedling in the hole, cover the roots with soil, and press lightly to secure it. Water thoroughly to help the plant settle in.
Feeding for Growth
Clove plants are light feeders, so fertilize sparingly. A balanced, slow-release fertilizer (like a 10-10-10 blend) or organic compost applied every six weeks will keep your plant nourished without overwhelming it. Too much fertilizer can harm those tender roots, so less is more.
🌞 Caring for Your Clove Plant: The Art of Nurture
Now that your clove plant is settled in its new home, it’s time to master the art of care. Cloves are tropical beauties, and with the right conditions, they’ll reward you with lush growth and, eventually, those coveted buds.
Light and Temperature
Clove plants love warmth and partial shade. Aim for temperatures between 60°F and 90°F (15°C to 32°C), avoiding sudden drops or chilly drafts. Place your plant where it gets bright, indirect sunlight—too much direct sun can scorch those delicate leaves. A spot near an east-facing window is ideal, bathing your plant in morning light.
Watering Wisely
Keep the soil consistently moist but never waterlogged. Check the top inch of soil with your finger—if it feels dry, it’s time to water. Use room-temperature water and pour slowly, ensuring the soil absorbs it evenly. Overwatering is a common mistake, so ensure your pot has drainage holes to let excess water escape.
Humidity is Key
Cloves hail from humid, tropical climates, so they crave moisture in the air. Boost humidity by misting the leaves daily with a spray bottle or placing a tray of water with pebbles near the plant. If you’re in a dry climate, a small humidifier can work wonders, keeping your clove plant lush and happy.
Pruning for Perfection
Encourage bushy growth by pruning your clove plant lightly. Use clean, sharp scissors to snip away dead or yellowing leaves and trim leggy stems. Pruning not only keeps your plant tidy but also stimulates new growth, giving it that full, vibrant look.
Pest and Disease Watch
Clove plants are relatively hardy, but keep an eye out for pests like aphids or spider mites. If you spot tiny invaders, wipe the leaves with a damp cloth or use a mild soap-and-water solution to keep them at bay. Ensure good air circulation around your plant to prevent fungal issues, especially in humid conditions.
🌸 Harvesting Cloves: The Fruits of Patience
The ultimate reward of growing cloves is harvesting those aromatic buds. Be warned: clove plants are slow to mature, often taking five to seven years to produce flowers. But when they do, the wait is worth it.
Knowing When to Harvest
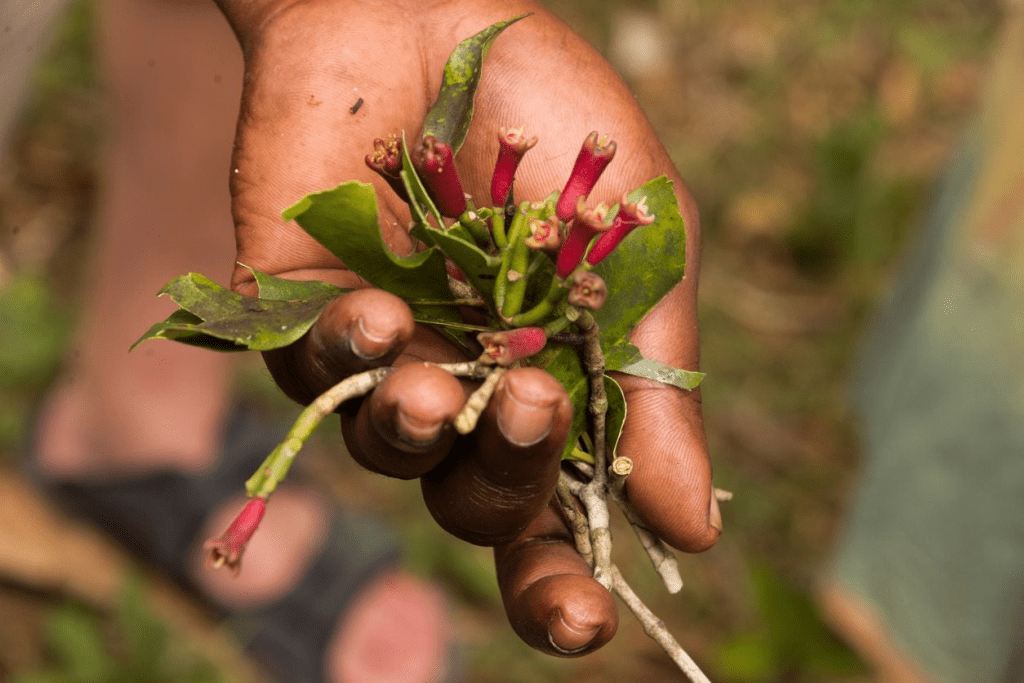
Clove buds are ready when they turn pink or reddish, just before they fully open into flowers. This is the sweet spot—pick them too early, and they lack flavor; too late, and they lose their potency. Use sharp scissors to snip the buds carefully, leaving the plant intact for future harvests.
Drying for Perfection
Spread the harvested buds in a single layer in a shaded, well-ventilated area. Avoid direct sunlight, which can sap their flavor. Turn the buds daily to ensure even drying, and in about a week, they’ll transform into the dark, fragrant cloves you know and love. Store them in an airtight container to preserve their potency.
🌟 Tips for Long-Term Success
Growing cloves is a labor of love, but a few extra tips can ensure your plant thrives for years to come. Rotate your pot every few weeks to ensure even light exposure. If you’re growing indoors, consider a grow light during winter months to mimic tropical sunshine. And most importantly, stay patient—cloves are slow growers, but their beauty and bounty are worth every moment.
🌍 Why Cloves Are Worth It
Growing cloves from seed to spice is more than a gardening project—it’s a journey into the heart of a spice that’s flavored cuisines and healed ailments for centuries. Every step, from soaking seeds to harvesting buds, connects you to the earth and its rhythms. Whether you’re dreaming of homemade chai or a natural remedy for a toothache, your clove plant will reward your care with beauty and flavor.
So, grab those fresh cloves, a pot, and a sprinkle of curiosity. Your clove-growing adventure starts now, and the scent of success is just a few years away. Happy planting!